
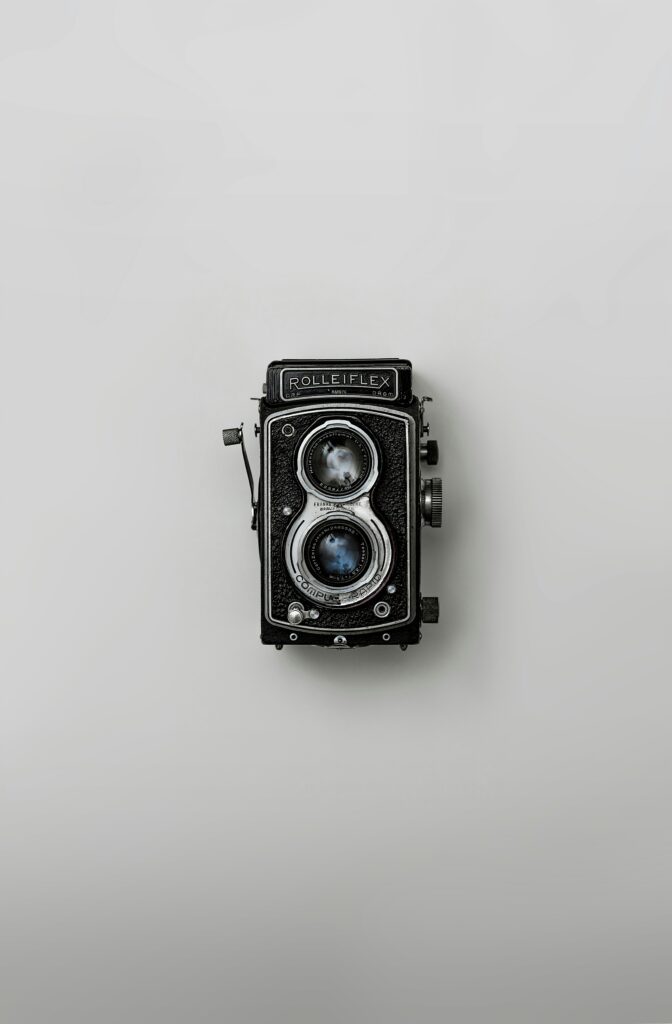
Introduction to Photography
Photography is an art form that allows you to capture moments, tell stories, and express your unique perspective. Whether you’re snapping pictures with your smartphone or wielding a professional DSLR, the thrill of freezing time in a single frame is universal. For beginners eager to dive into this creative world, mastering essential techniques can make all the difference.
Imagine being able to transform everyday scenes into breathtaking images. With just a few key principles under your belt, you’ll not only enhance your skills but also gain confidence behind the lens. From understanding camera settings to playing with lighting and composition, there’s so much you can explore.
Get ready as we embark on this photographic journey together! Here are ten essential photography techniques every beginner should know to elevate their craft and start capturing stunning visuals right away.
Understanding Your Camera Settings
Understanding your camera settings is crucial for taking stunning photos. Each setting plays a unique role in determining how light and color come together in your images.
Start with ISO, which measures the sensor’s sensitivity to light. A lower ISO works well in bright conditions, while higher values help capture details in low-light environments. However, be cautious—too high can introduce noise.
Next up is aperture. This controls the lens opening and affects depth of field. A wide aperture (like f/1.8) creates a blurry background, perfect for portraits. Conversely, a smaller aperture (like f/16) keeps everything sharp—a great choice for landscapes.
Shutter speed is equally important; it dictates how long the camera’s sensor is exposed to light. Fast speeds freeze action, while slow speeds can create beautiful motion blur effects.
Take time to experiment with these settings individually and see how they influence your photography style over time.
Composition: The Key to Great Photos
Composition is crucial in photography. It’s the art of arranging elements within your frame to create balance and interest.
Start by thinking about what you want to convey. Every element adds meaning, so choose wisely. The foreground, middle ground, and background should work together harmoniously.
Use leading lines to draw the eye through your image. Roads, fences, or rivers can guide viewers toward a focal point. This technique helps establish depth and direction.
Don’t forget negative space; it allows the subject to breathe. A cluttered frame can overwhelm the viewer. Give them room to explore your main focus.
Experiment with symmetry and asymmetry in your shots too. Each has its charm and can evoke different feelings within an image.
Be bold with framing techniques as well—doorways or branches can create natural frames around your subjects, adding intrigue and context.
Lighting Techniques for Different Environments
Lighting can make or break a photograph. Understanding how to manipulate light is crucial for capturing stunning images.
In bright daylight, shadows can be harsh. Use diffusers or reflectors to soften the light, creating a more flattering effect on your subject. Overcast days provide natural softboxes that help in achieving even lighting.
When shooting indoors, consider the color temperature of artificial lights. Mixing different sources can lead to unwanted color casts. Position yourself near windows for beautiful natural light if possible.
During golden hour—shortly after sunrise or before sunset—the warm tones add magic to any scene. Embrace this time for breathtaking outdoor shots.
For night photography, use long exposure techniques and tripods to capture ambient light effectively. Street lamps and neon signs offer exciting opportunities for creativity in low-light situations as well.
Mastering the Rule of Thirds
The rule of thirds is a powerful tool in photography. Imagine your frame divided into nine equal sections, like a tic-tac-toe board. This simple grid helps guide the placement of subjects within your composition.
Instead of centering your subject, try positioning it along one of those lines or at the intersections where they meet. This creates balance and draws the viewer’s eye to essential elements in your photo.
Experiment with different placements for various effects. A horizon line placed on either the upper or lower third can evoke feelings of openness or drama.
Don’t be afraid to break this rule occasionally! Understanding it allows you to experiment confidently and develop your unique style over time. The more you practice, the more natural these compositions will become in your work.
Capturing Motion and Action Shots
Capturing motion is an exhilarating challenge in photography. It goes beyond simply pointing your camera at a moving subject; it requires skill and creativity.
Start by selecting the right shutter speed. A faster speed freezes action, while slower speeds can introduce blur for artistic effect. Experimenting with these settings lets you control how movement translates into your image.
Panning is another effective technique. By following a moving subject with your camera, you create a sharp focal point against a blurred background. This adds dynamism and context to the scene.
Consider using continuous shooting mode to increase your chances of getting that perfect shot during fast-paced moments. Sometimes, those split-second decisions yield unexpected results that tell powerful stories.
Be mindful of the environment around you. Elements like lighting and background can significantly impact how motion appears in your photographs, so observe carefully before pressing the shutter button.
Using Depth of Field for Impactful Photos
Depth of field is a powerful tool in photography. It helps emphasize your subject while blurring the background or foreground. This creates a stunning visual effect.
To achieve this, understand aperture settings. A wide aperture (like f/1.8) allows more light and results in a shallow depth of field. Your subject stands out against a dreamy backdrop.
Conversely, using a narrow aperture (like f/16) brings everything into focus. This is ideal for landscapes where you want to capture details from front to back.
Experiment with different focal lengths as well. A macro lens can create an extreme blur around tiny subjects, adding drama and intrigue.
Remember to consider the distance between your camera and subject too. The closer you are, the shallower the depth of field becomes, enhancing that artistic flair in your shots.
Editing Tips and Tricks for Beginners
Editing is where your images come to life. As a beginner, start with user-friendly software like Adobe Lightroom or even free options like GIMP.
First, learn the basics of cropping and straightening. These tools can transform an ordinary shot into something striking. A simple adjustment can often make a big difference.
Next, explore exposure adjustments. Brightening shadows or toning down highlights can enhance details you didn’t notice before. Don’t shy away from experimenting with contrast; it adds depth and interest.
Color correction is another essential skill to master. Adjust white balance for more accurate colors that reflect the scene’s mood.
Consider learning about filters and presets. They provide a quick way to create consistent looks across your photos while maintaining your unique style.
Take your time exploring these techniques, and don’t hesitate to play around! The world of editing opens up endless possibilities for creativity in photography.
Experimenting with Different Angles and Perspectives
Experimenting with different angles and perspectives can transform the ordinary into something extraordinary. When you change your viewpoint, you open up new possibilities for storytelling through your images.
Try crouching low to capture a unique ground-level shot. This approach can highlight details often missed from eye level. Alternatively, shooting from above provides an intriguing bird’s-eye view that can give context to your subject.
Don’t hesitate to tilt or rotate your camera slightly for a dynamic composition. A slight angle can evoke emotion and create visual interest in ways straight shots cannot achieve.
Consider incorporating leading lines by positioning yourself at various vantage points. This technique draws viewers into the scene, guiding their eyes along pathways or structures within the frame.
The beauty of photography lies in exploration. Each click could unveil unexpected marvels waiting just beyond conventional views, so embrace creativity and let curiosity drive your craft!
Practice Makes Perfect: Tips for Improving Your Photography Skills
Improving your photography skills takes time and dedication. The more you practice, the better you’ll become. Start by setting small goals for each shoot. It could be experimenting with a specific technique or capturing a certain type of subject.
Don’t hesitate to take hundreds of photos in one session. This not only helps you learn but also allows you to discover what works best for your style. Review your images critically; identify what you like and what doesn’t resonate with you.
Seeking feedback can also accelerate your growth. Share your work with friends, join online forums, or participate in local photography groups. Constructive criticism is invaluable.
Additionally, challenge yourself regularly by stepping outside of your comfort zone. Try new subjects, travel to different locations, or even experiment with genres you’ve never considered before.
Keep learning! There are countless resources available—books, tutorials, workshops—that can provide fresh insights and techniques as you advance on this creative journey. Embrace every moment behind the lens; it’s all part of the process that transforms beginners into skilled photographers over time.